Asakaze Maru


Local Name:

K-5 Upright

Depth:

Approximately 80' to the cabin area and approximately 100' to the main deck.

Anchoring:

This wreck is generally marked with a buoy on the surface. Attached to the buoy is generally a tag line that can simply be tied off on the cleat of the boat. A second method of securing the boat is highly recommended. I take a small folding grapnel anchor down with me and secure it on part of the mast structure.

Location:

Latitude Longitude
Degrees Minutes Seconds Degrees Minutes Seconds
8 44 24.900 167 43 4.020
8 44.41500 --------- 167 43.06700 ---------
8.74025 --------- --------- 167.71778 --------- ---------

Notes:

This ship has been collapsing, so one should be careful while poking around on this wreck. A good portion of the superstructure has collapsed down to the deck level and parts of the bow gun platform have been falling off.

In one of the rear holds you can find the remains of a small car. As you descend on the mooring line the hold with the car should be in the hold just forward (east) of where the mooring line is secured. You can tell that you have the right hold if the port side deck shows signs of significant battle damage. The deck will be bent downward. The car is behind the part of the deck that is folded towards the stern (the port-stern corner of the hold). Just drop down into the hold and look behind this twisted portion of the deck. You can also see the large hole in the hull where the deck is damaged. There is also a good sized crack in the hull on the starboard side of this hold.

There is still a nice bow gun to see. The mooring line is towards the stern, so you'll need to head east to find it. There were boxes of ammo on the gun platform, but they have recently broken away and have fallen onto the deck.

Photos:

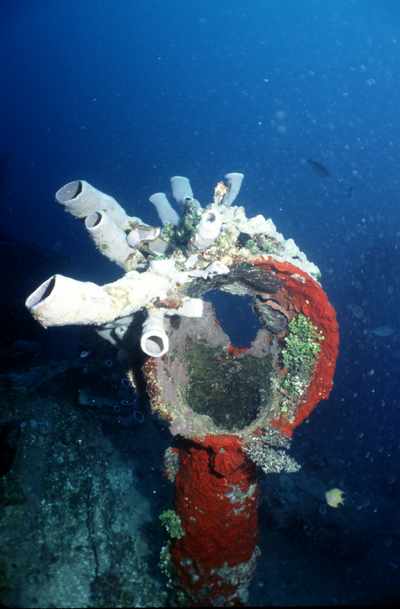
Here's a nice colorful funnel. This is another case of the photo looking a lot better than it did in real life! The colors really show up in the photo.
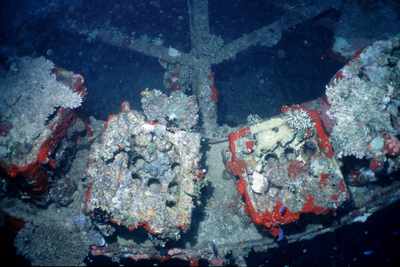
This is a shot that you can no longer get. This was a shot of the ammo boxes that were around the back of the gun platform. This part of the gun platform has since fallen away and now rests inverted on the deck below.
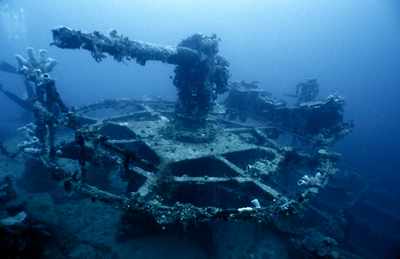
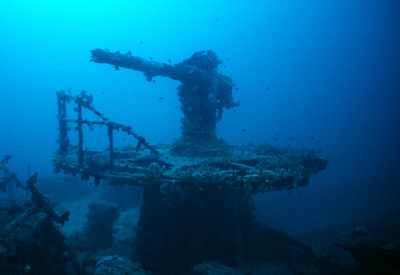
A shot of the bow gun. The now missing ammo box can be seen behind the gun.
The ammo boxes are a bit more visable here.
Here's a great side scan sonar image of this very popular wreck!

Image by Bob Swanson
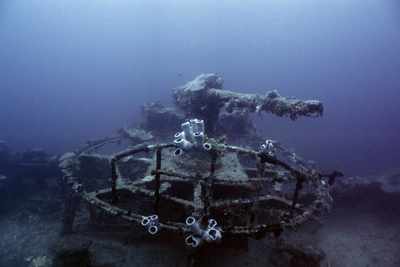
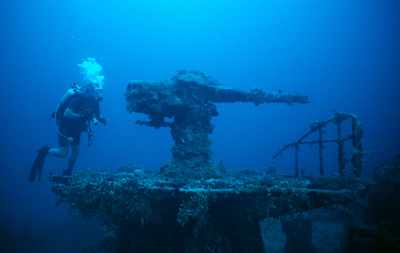
Here's a more recent shot of the bow gun. Notice that the ammo boxes are gone. They lie inverted on the deck below.
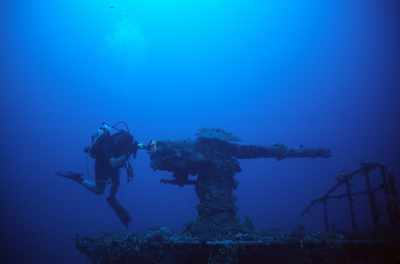
A good gunner always checks the barrel for obstructions before firing. Here gunner Bob Burt inspects the barrel!
Another shot of Bob Burt approaching the gun.
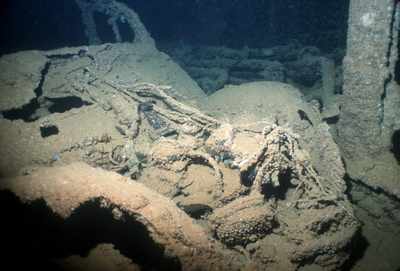
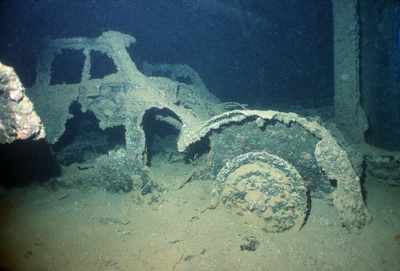
You're looking at front of an car in one of the holds. I forget the number of the hold this is, but it is behind the main cabin area. Look for the severely damaged deck next to one of the holds on the port side of the ship. You'll seee a large hole in the side of the ship and the deck is bent downward. Peek under the area where the deck is bent downward towards the stern of the ship.
Here's what's left of the right front wheel, door and windshield.
Here we are looking at the dash from the back end of the car.
Linda Fluke emerges from the hold that is just forward of the bridge area.
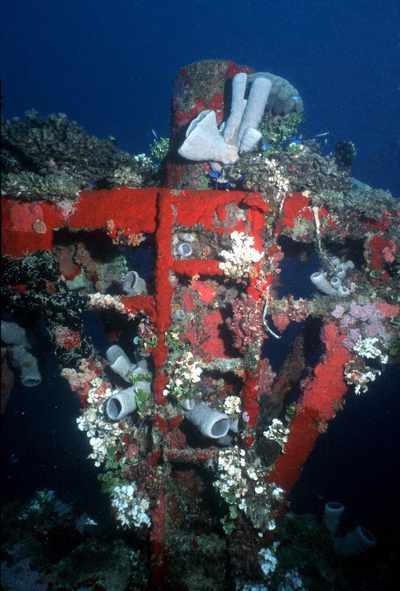
This shot was taken very early in my photography career. I was quite surprised at the results! This is another case where the photo is much more colorful than what you see. The strobe really brings the colors back! This ladder on the mast had quite a bit of sponge growth that really added a lot to the picture.
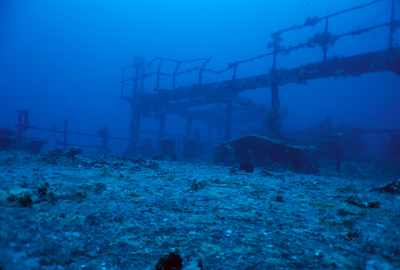
This view is from the starboard side of the stern. Nice view of the stern deck and rails.

Nearby Attractions:


From: Asakaze Maru
AttractionDistance (feet)Bearing (deg mag)
Tateyama Maru 389 298


Go to Map Based Wreck Directory

Go to List Based Wreck Directory

Go to Wreck Page

Go to Scuba Diving Page

Go to Dave Fortin's Homepage

Send e-mail to Dave Fortin


This page has been accessed 17 times.

Created by Dave Fortin

Sat Apr 20 08:15:09 UTC 2024